
Recipe: Wrex’s Rachni Jerky – Who Needs Luck? We’ve Got Jerky!
 Two thousand years before the Reapers were ever a threat, the vile Rachni threatened the universe. If not for the heroism and sacrifice of the mighty Krogan, there is little doubt that the Rachni would have picked the galaxy’s bones clean. While battling the insectoid menace, the Krogan began to run out of supplies forcing them to eat their newly slain enemies in order to stay alive (the nourishment inside their hump only lasted so long). As the Rachni Wars progressed, the Krogan developed a method of preserving the Rachni meat for extended periods of time while enhancing the bitter-bug-like taste. While the Rachni are now extinct, Clan Urdnot’s perfected recipe has recently been located in the catacombs deep beneath Tuchanka.
Ingredients
2 LBS of London Broil – sliced thin with fat removed (due to the extinction of the Rachni)
2 Tablespoons of onion powder
4 TSP of black pepper
1 teaspoon of Sriracha
1/2 Cup of brown sugar
1 1/2 cups of soy sauce
1/2 cup teriyaki sauce
1/2 cup Worcestershire sauce
2/3 cup balsamic vinegar
5 tablespoons of liquid smoke
4 tablespoons of red pepper
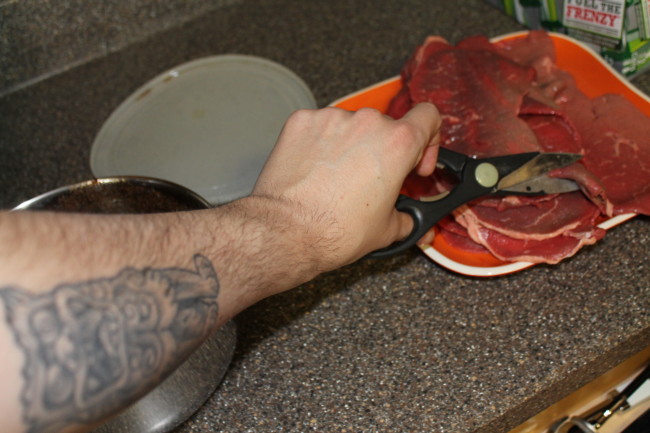 Step 1 – Slice the Meat – I’ve learned that the key to good jerky is very little fat due to the fact that fat retains water. After playing with a number of different meat types (mind out of the gutter), I discovered that London Broil is the best cut to use for lean, long lasting, Rachni Jerky. LB is relatively inexpensive, and depending on the region of the world you live in, will only cost you $10.00 for about 2 LBS. If you’re nice to your local butcher, he’ll more than likely cut the meat for you. Just say that you want your meat “thinly sliced for jerky” and he’ll know what to do.
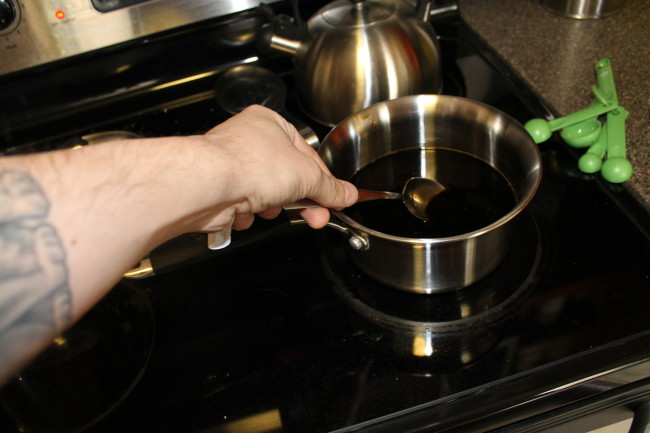 Step 2 – Combine the wets – Combine your soy sauce, teriyaki sauce, worsh, balsamic vinegar, Sriracha, and brown sugar in a small sauce pan and simmer it for about 15 minutes. The object the simmering is to completely dissolve the brown sugar so that no crystals remain. If you DO end up with brown sugar crystals simply abandon them during the next step. The crystals won’t mind.
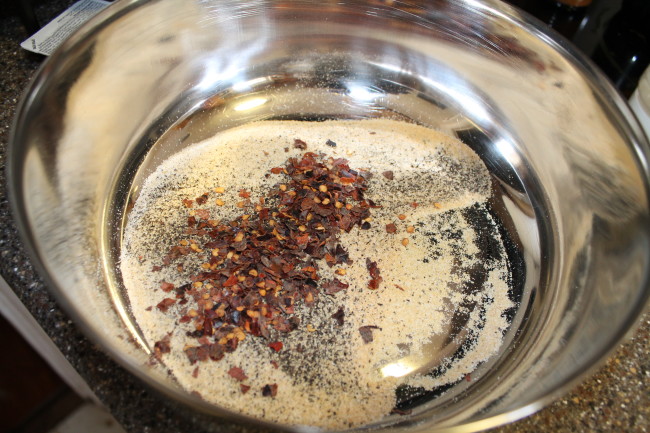 Step 3 – Combine the drys – Combine your onion powder, black pepper, & red pepper in a large bowl or lidded container. In a few minutes you’ll be adding your meat and sauce to this mixture, so make sure you have enough room.
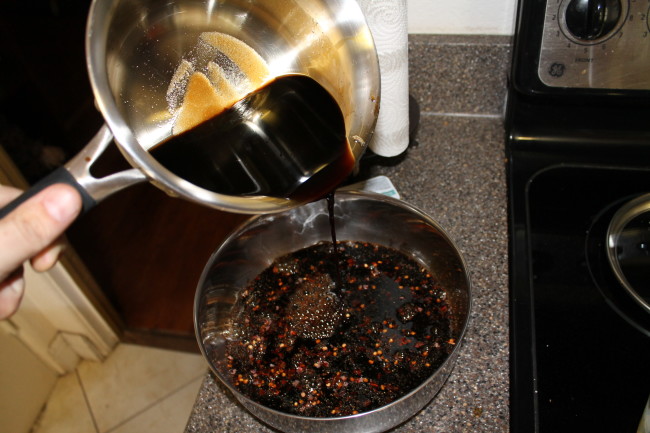 Step 4- Combine your wets and your drys – Pour your liquid mixture into your dry mixture and stir for a bit until the two become one. Again, make sure that you’re leaving enough room for your meat… otherwise you’ll have to pour all of your ingredients into another bowl, and that’s just a big waste of time.
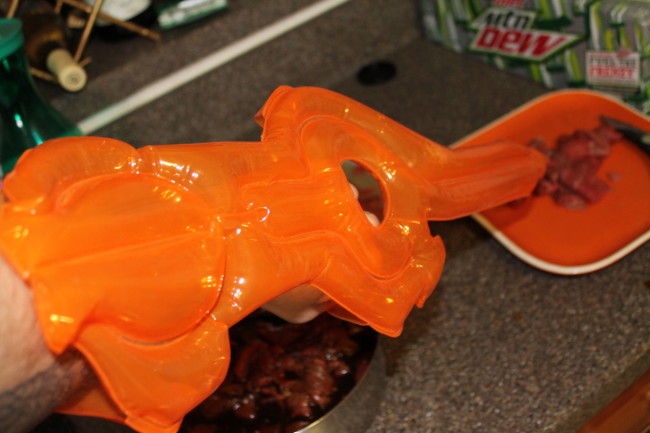 Step 5 – Add that meat – Make sure your meat is all roughly the same thickness. If your butcher rushed the job, you may have ended up with different cuts of meat, which in turn leads to different different dehydration times. Also, be sure to remove the excess fat from your meat as your food dehydrator has a hard time sucking the moisture out of a fatty piece of meat. If you by chance have a Vorcha around the house, grilled Rachni fat makes for a great snack! Step 6 – Wait – Now that your meat, wet, and dry are combined, seal them away to marinate for about 12-24 hours. While you may be tempted to jump the gun and start the dehydration process, marination is the most important step to tasty jerky. I typically let the meat marinate for about 24 hours… Patience.
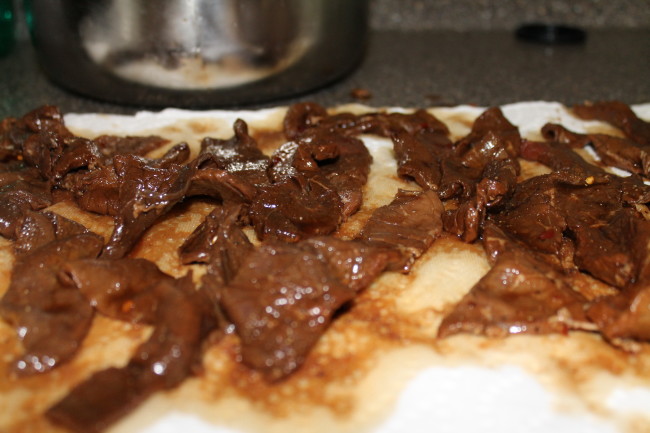 Step 7 – Dry that meat – After 24 hours, remove your marinated meat from the container and place it onto some paper towels to absorb excess moisture. You may be tempted to put the wet meat into your dehydrator (because logic tells you that extra marinade will make your jerky taste better), but this is not the case. After 24 hours all of that marinade is INSIDE your meat. Let those paper towels soak up the excess juice and then place the meat onto the racks of your dehydration unit.
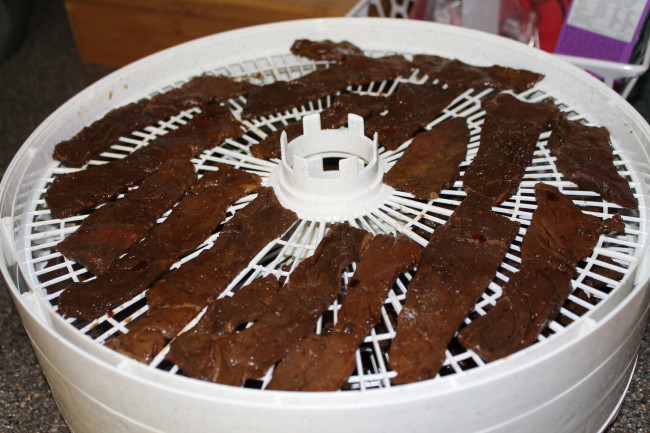 Step 7 – Dehydration – This will undoubtedly take some experimentation so I don’t recommend leaving your jerky unattended for more than a few hours. Place your marinated meat onto the racks of your food dehydrator so that air can flow freely between the slices. Using the Nesco Food Dehydrator & Jerky Maker set to 160 Degrees it typically takes Rachni jerky between three and four hours to fully dehydrate. After about two hours feel free to check on your jerky in order to make sure that it’s not over done. Your jerky should still be pliable and should not crack when bent. Again, if you use a different food dehydrator, or want to try the advanced fan method, it may take a bit longer.
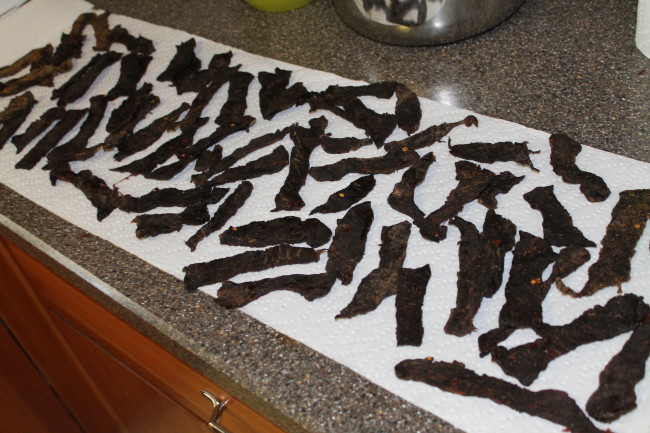 Step 8 – Eat for Tuchanka – When your batch is complete, the Rachni Jerky should last you quite a while and will give you the needed energy to battle those pesky Reapers! Okay, in reality I’ve been a beef jerky fan since I was a little kid and I’ve been making my own jerky for a little over three years. I’m proud to say that Rachni jerky is a recipe that I’ve created after sampling a few dozen jerky recipes from all around the galaxy. I sure hope you enjoy.
This Post Has 6 Comments
Comments are closed.


As someone who’s experienced this jerky first-hand, all I can say is, fuck yeah.
I love jerky, doing my own cooking, and destroying my enemies! great recipe!
Clearly, the important ingredient here is Siracha !!!
Awesome write up…please tell me you are bringing at least 4 lbs of this to PAX next weekend.
Yessir, Rachni jerky making is going to take up most of my weekend I’m afraid.